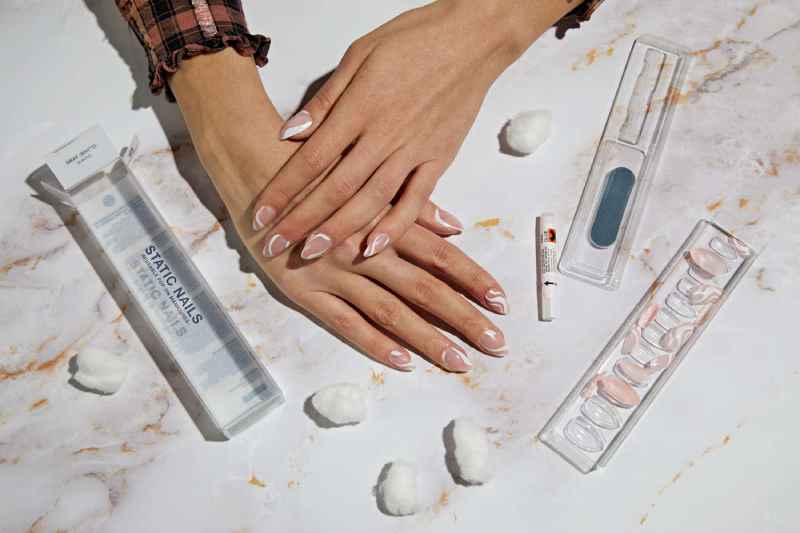
How long do press-on nails last: Before you buy a three-month supply of press-on nails, let’s talk the facts. Press-on nails have evolved significantly from the drugstore products of decades past. They are now available in a wide range of colors, shapes and designs to meet the demands of a consistently precise manicure, even if you need to apply one at home.
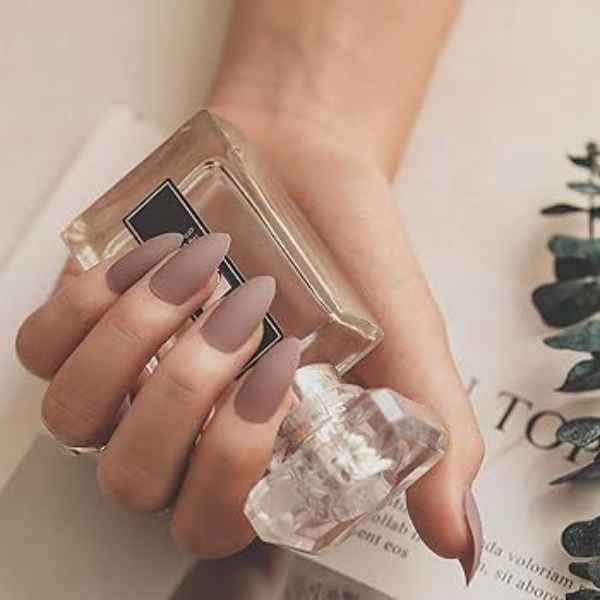
A lot of the decisions are pretty bold, if we’re honest. But the classics among us will find French nails, pink nails and even beige nails with just a touch of pink among the matte and glitter finishes.
Press-on nails are the choice for a professional-looking manicure when you don’t have time or a trip to the nail salon is simply out of the question. With a box of press-on nails, your fingers can look like they’ve been freshly painted with gel polish in just 10 minutes.
Choosing Your Adhesive
Before you go shopping to get a three-month supply of press-ons, let’s discuss the facts. Although we already consider that the press nail market has made great progress in recent years, it still does not meet the standard of permanent professional work.
You can expect press-on nails with glue to last about a week, while the sticker version can last three to five days, although there are some brands that women swear only last as long as the glue versions.
Make Your Press-on Nails Last
Remember, you are not automatically guaranteed seven wonderful days with your new press-on nails. These adhesives necessitate a meticulous approach to maximize their effectiveness, unlike the professional gel or powder manicures typically obtained at a saloon.
To make press-on nails last longer, it is important to proceed carefully. Wear gloves when washing dishes, do not immerse them in water, and avoid using strong household cleaners. You will be able to treat your hands better with care if you choose press-on nails.
Choose A Shorter Length
Above all, it’s best to go shorter if you really want to get the most out of your bruises. Just as longer natural nails tend to break and splinter, long press nails have a larger surface area for possible damage such as snagging and chipping.
If you’ve never experienced a nail falling off the table in the middle of a meeting, rest assured that this is an embarrassment that you should definitely avoid. Another way to avoid losing a press too early or unexpectedly is to simply keep track of the length.
Be Ready To Repair
If you can’t make it to the salon and need a professional-looking manicure with no drying time, press-on nails are worth a try. If you choose the glue option, keep the small tube with you for touch-ups on the go. And don’t be embarrassed to bring nail glue. Prepare for the worst!
It’s not just glue that can help with a set of press-on nails. While it’s an overall reliable choice (especially if you’re in a hurry and can’t make a nail appointment), even a pressed nail can sometimes cause problems. The reliable tool at your disposal is a basic nail file. Don’t ignore the most obvious manicure tools that will help you in this matter.
8 Tips to Make Press-On Nails Last
- Use high-quality glue, no matter the nails.
- Choose the appropriate shape and size that suit both your personal preferences and lifestyle.
- Clean and buff your nails before application.
- Apply glue to your natural nail and press-on nail.
- Press firmly to secure the press-ons to your nails.
- Put a top coat over the press-on nails.
- Put a top coat over the press-on nails.
- Enhance the longevity of your press-on nails by curing them with UV gel and light.
- Avoid submerging your nails in water.
The more you pay attention to your hands, the longer the pressure will last
If you’re trying to make your bruises last a week or longer, it’s best to avoid water. It may sound gross, but according to Miss Pop, washing your hands less and instead using hand sanitizer when necessary helps. She also recommends wearing gloves when washing dishes and avoiding washing your hair for as long as possible.
Taking it off should be almost as easy as putting it on
Obviously, the process of removing nail strips is slightly different than removing glue. Nail strips are easier to remove and only require soaking in warm water, nail oil and gentle pulling. Shaking them back and forth as it can cause harm, recommending instead to lower and remove the nail.
However, with glued nails, you will have to be patient if you want to maintain the strength of your natural nails. Miss Pop recommends cutting off the excess length at the tip and soaking it in “like you would a gel manicure using foil, cotton wool and acetone nail polish remover “.
Regardless of which application and removal method you choose, your nails will be in much better condition after application than with gel or acrylic nails. Removing the tapes or glue will not cause any damage to your nails. However, board-certified dermatologist Hadley King warns that adhesives like nail glue carry the risk of an allergic reaction. Moisture can be trapped in any gap between the nail plate and the artificial nail, providing a favorable environment for the growth of bacteria, yeast & fungus.
However, it is safer to throw away artificial nails after removing them. However, you can always open the press-on nail pack for the night – or all week – and enjoy all the fun of nail art without feeling guilty.
ALSO READ: Top Five Reasons to Love Sexy Plus Size Bras
ALSO READ: Am I A Suitable Person For RF Microneedling?